Your first 15 minutes
You need one parent account and one child device. Network, email, and remote backups can wait until the basic family flow feels right.
A working first setup
- Open Parents → Settings. Give the family a name and leave the advanced sections unchanged for now.
- Under Family accounts and application settings → New child profile, create one child. Choose a four-digit PIN and a sensible credit limit such as
-100or0. - Pair the child device. This is required before a device can list child profiles or accept a child PIN.
- In Parents → Tasks and rewards, create two short, observable tasks, for example “Put dirty clothes in the basket” and “Feed the cat”. Give each a point value and an emoji.
- In the same menu, create one attainable reward, such as “Choose tonight’s dessert”.
- On the child device, select the profile, enter the PIN, choose a theme, and submit one task. Add a photo only if it helps you check the work.
- Back in Parents → Home, approve the submitted task. The points appear on the child card and in History.
- On the child device, request the reward. Back on the parent dashboard, approve or reject it and check the resulting history entry.
At this point, the essential loop is working: child action → parent decision → visible, permanent record.
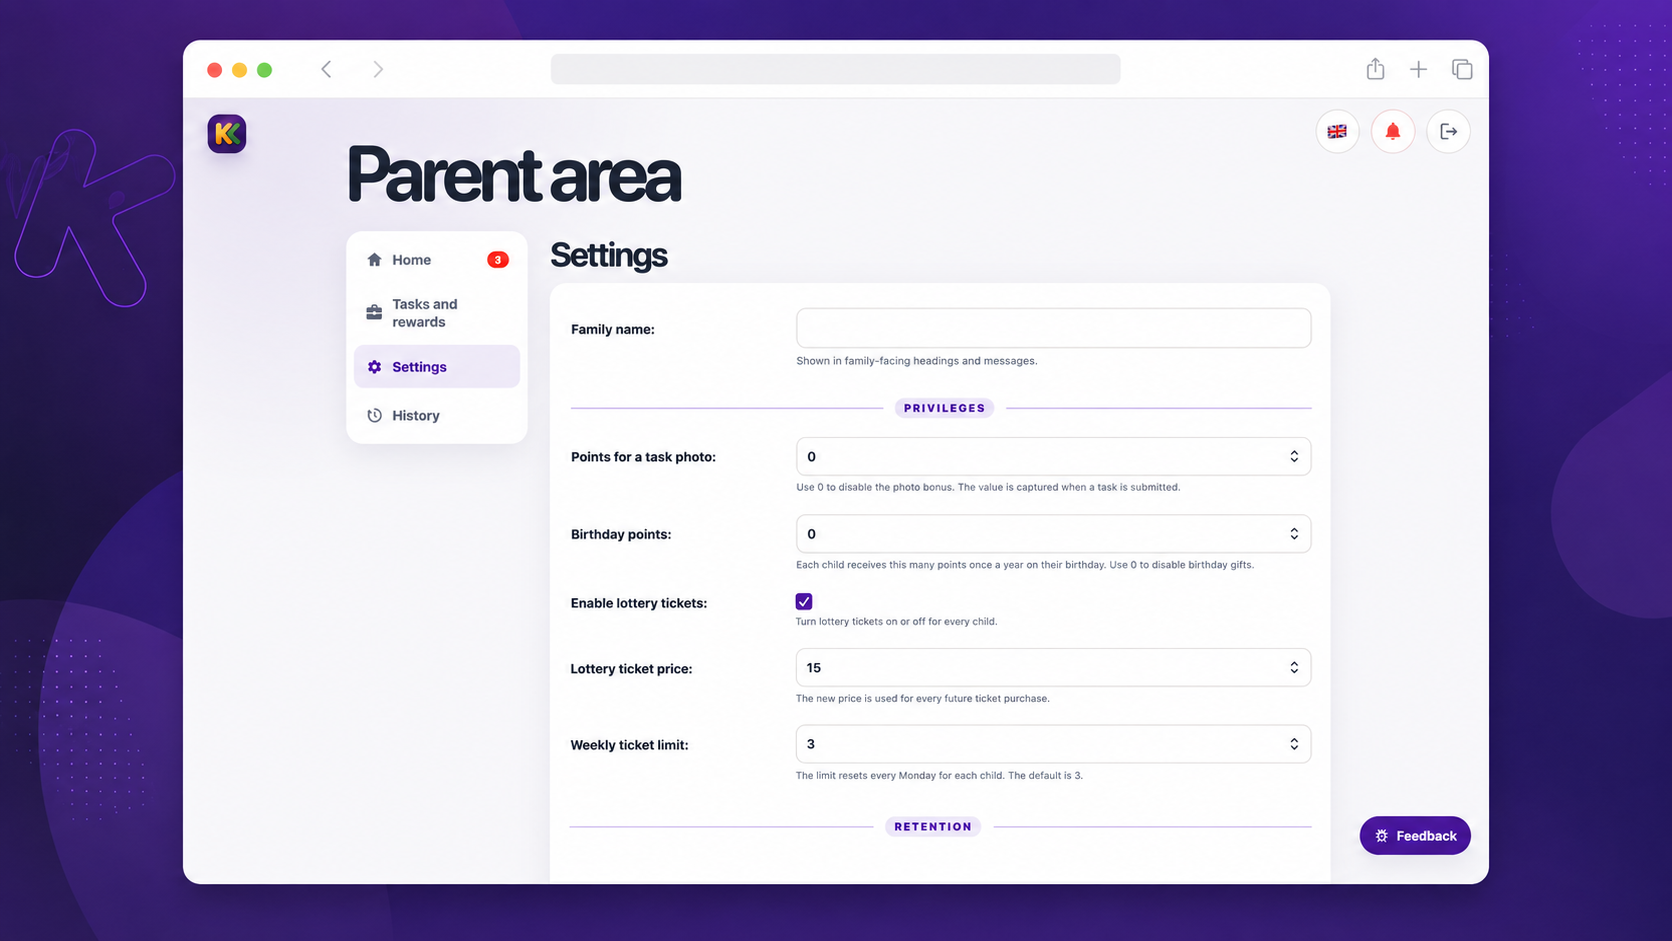
The screenshot contains fictional demonstration data only.
Add the rest later
- Configure SMTP only when parents need password-recovery email or feedback email notifications.
- Configure remote Backups once you have a storage provider and a safe place for the repository password.
- Consider Network access only if you understand your stable home/VPN addresses. It is useful extra protection, not a prerequisite.